This is the sequel to my previous post here where I create a new android app with a App Compat v7 (21.+) for pre-lollipop device. Now I am adding Navigation Drawer into the app.
Just a side note, Android Studio 1.0 has just been released 9 hours ago (as I’m typing this line at 12:07pm GMT+8). My Android Studio has been updated.
Let’s start
-
Create the layout to be used as content of navigation panel
app/src/main/res/layout/nav_drawer.xml.<?xml version="1.0" encoding="utf-8"?> <!-- android:layout_gravity="start" tells DrawerLayout to treat this as a sliding drawer on the left side for left-to-right languages and on the right side for right-to-left languages. The drawer is given a fixed width in dp and extends the full height of the container. A solid background is used for contrast with the content view. --> <ScrollView xmlns:android="http://schemas.android.com/apk/res/android" android:id="@+id/scrollView" android:layout_width="260dp" android:layout_height="match_parent" android:background="@color/button_material_light" android:layout_gravity="start"> <RelativeLayout android:layout_width="match_parent" android:layout_height="match_parent" android:orientation="vertical"> <FrameLayout android:id="@+id/nav_top" android:layout_width="match_parent" android:layout_height="100dp" > </FrameLayout> <ListView android:id="@+id/nav_list" android:layout_width="match_parent" android:layout_height="match_parent" android:layout_below="@+id/nav_top" /> </RelativeLayout> </ScrollView> - Add the DrawerLayout into the main activity layout file
/app/src/main/res/layout/activity_main.xmland also include thenav_drawer.xmlinto the main layout by adding the following lines (highlighted)<RelativeLayout xmlns:android="http://schemas.android.com/apk/res/android" xmlns:tools="http://schemas.android.com/tools" android:layout_width="match_parent" android:layout_height="match_parent" tools:context=".MainActivity"> <include android:id="@+id/app_bar" layout="@layout/appbar" /> <android.support.v4.widget.DrawerLayout android:id="@+id/drawer_layout" android:layout_width="match_parent" android:layout_height="match_parent" android:layout_below="@id/app_bar" > <TextView android:layout_width="wrap_content" android:layout_height="wrap_content" android:text="@string/hello_world" /> <include layout="@layout/nav_drawer" /> </android.support.v4.widget.DrawerLayout> </RelativeLayout>notice that
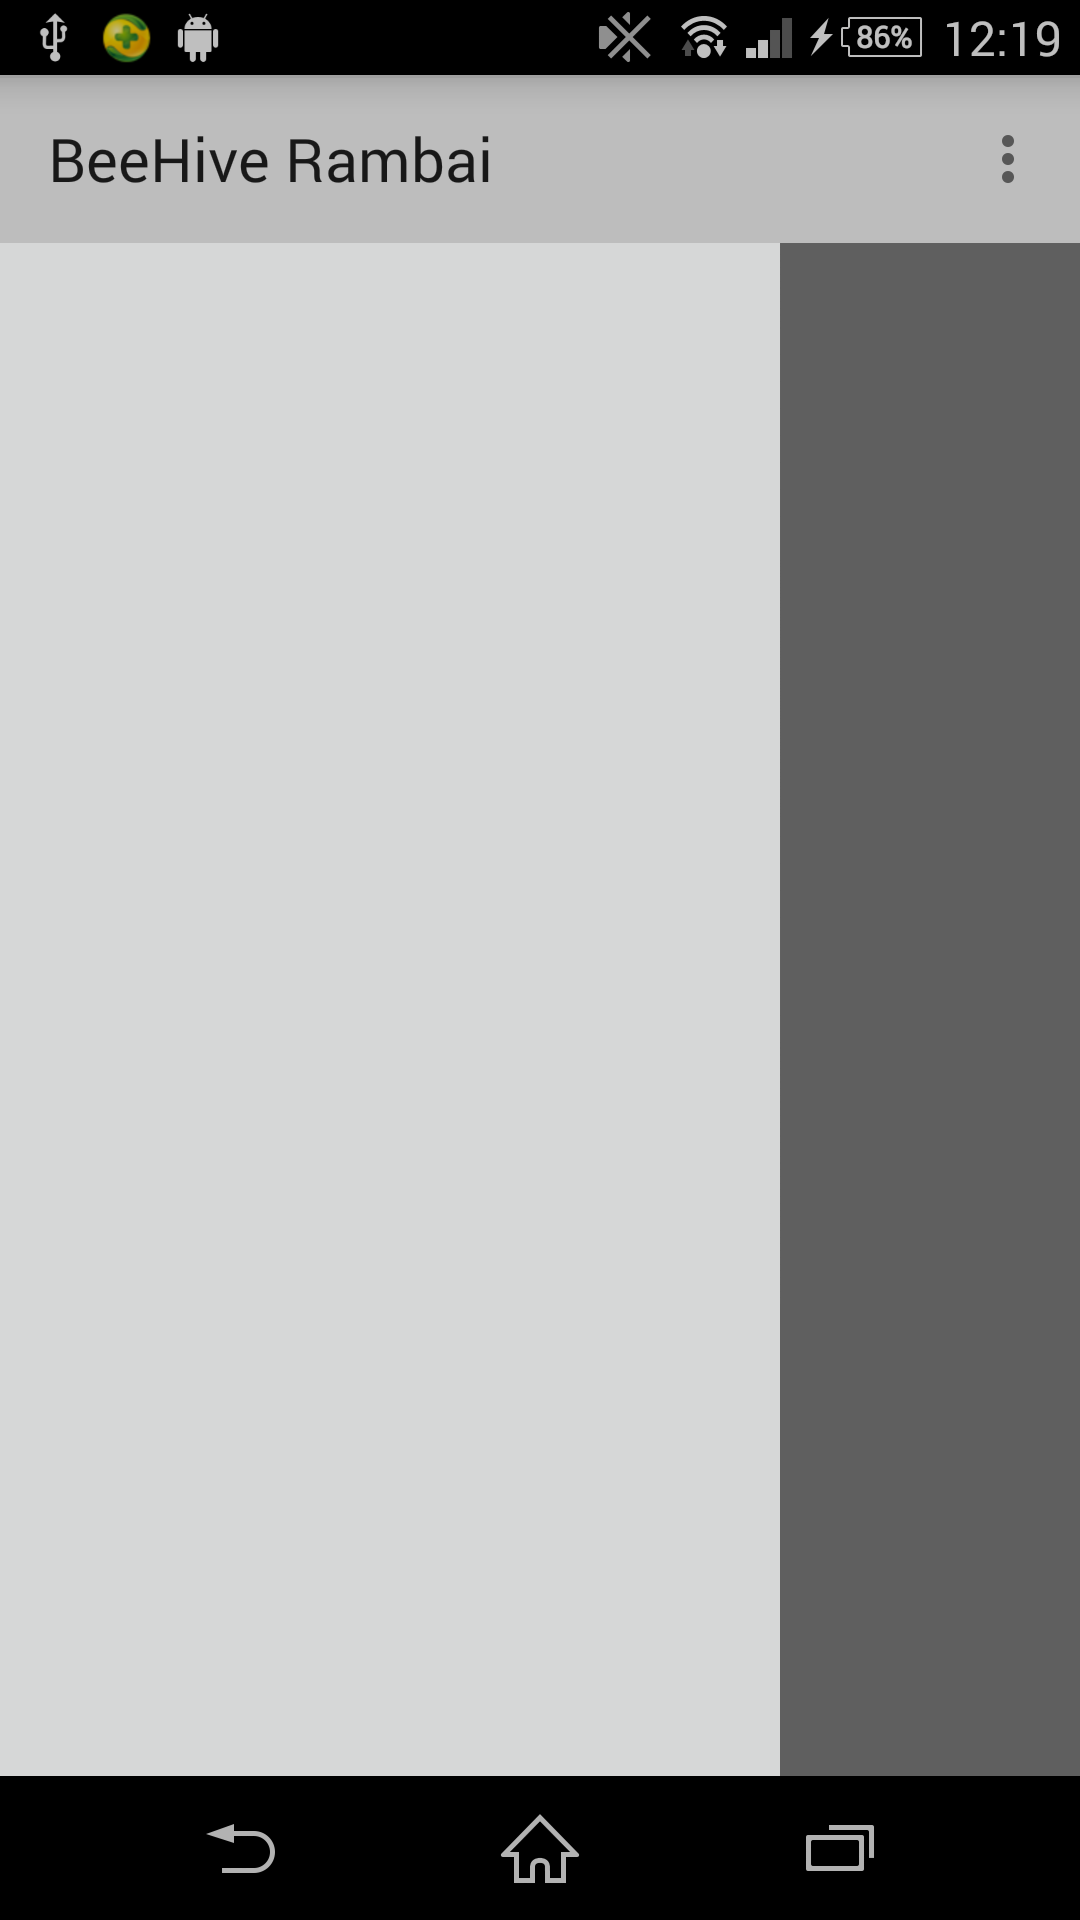
android:layout_below="@id/app_bar"has been removed from theTextViewelement and added asDrawerLayout‘s attribute.Up till this step, this is produced

- Now let’s begin add the home icon (burger). Edit
app/src/main/res/values/styles.xml<resources> <!-- Base application theme. --> <style name="AppTheme" parent="Theme.AppCompat.Light"> <!-- to remove the default action --> <item name="android:windowNoTitle">true</item> <item name="windowActionBar">false</item> <!-- For 2.x version --> <item name="drawerArrowStyle">@style/DrawerArrowStyle</item> </style> <style name="DrawerArrowStyle" parent="Widget.AppCompat.DrawerArrowToggle"> <item name="spinBars">true</item> <item name="color">@android:color/white</item> </style> </resources> - Last step. Edit the activity java file.
import android.content.res.Configuration;
import android.support.v4.widget.DrawerLayout;
import android.support.v7.app.ActionBarActivity;
import android.os.Bundle;
import android.support.v7.app.ActionBarDrawerToggle;
import android.support.v7.widget.Toolbar;
import android.view.Menu;
import android.view.MenuItem;
import android.view.View;

public class MainActivity extends ActionBarActivity {
    private DrawerLayout mDrawerLayout;
    private ActionBarDrawerToggle mDrawerToggle;

    private CharSequence mDrawerTitle;
    private CharSequence mTitle;

    @Override
    protected void onCreate(Bundle savedInstanceState) {
        super.onCreate(savedInstanceState);
        setContentView(R.layout.activity_main);

        final Toolbar toolbar = (Toolbar) findViewById(R.id.app_bar);
        setSupportActionBar(toolbar);

        getSupportActionBar().setDisplayHomeAsUpEnabled(true);

        mTitle = getTitle();
        mDrawerTitle = "Navigation Drawer";

        mDrawerLayout = (DrawerLayout) findViewById(R.id.drawer_layout);
        mDrawerToggle = new ActionBarDrawerToggle(
                this,
                mDrawerLayout,
                toolbar,
                R.string.drawer_open,
                R.string.drawer_close)
        {
            public void onDrawerClosed(View view) {
                super.onDrawerClosed(view);
                toolbar.setTitle(mTitle);
                invalidateOptionsMenu();
                syncState();
            }

            public void onDrawerOpened(View drawerView) {
                super.onDrawerOpened(drawerView);
                toolbar.setTitle(mDrawerTitle);
                invalidateOptionsMenu();
                syncState();
            }
        };

        mDrawerLayout.setDrawerListener(mDrawerToggle);

    }

    @Override
    protected void onPostCreate(Bundle savedInstanceState) {
        super.onPostCreate(savedInstanceState);
        // This to ensure the navigation icon is displayed as
        // burger instead of arrow.
        // Call syncState() from your Activity's onPostCreate
        // to synchronize the indicator with the state of the
        // linked DrawerLayout after onRestoreInstanceState
        // has occurred.
        mDrawerToggle.syncState();
    }

    @Override
    public void onConfigurationChanged(Configuration newConfig) {
        super.onConfigurationChanged(newConfig);
        // This method should always be called by your Activity's
        // onConfigurationChanged method.
        mDrawerToggle.onConfigurationChanged(newConfig);
    }


    @Override
    public boolean onCreateOptionsMenu(Menu menu) {
        // Inflate the menu; this adds items to the action bar if it is present.
        getMenuInflater().inflate(R.menu.menu_main, menu);
        return true;
    }

    @Override
    public boolean onOptionsItemSelected(MenuItem item) {
        // Pass the event to ActionBarDrawerToggle, if it returns
        // true, then it has handled the app icon touch event
        // This handle among other things open & close the drawer
        // when the navigation icon(burger/arrow) is clicked on.
        if (mDrawerToggle.onOptionsItemSelected(item)) {
            return true;
        }

        // Handle other action bar items...
        switch (item.getItemId()) {
            case R.id.action_settings:
                return true;
        }

        return super.onOptionsItemSelected(item);
    }
}
Here’s the result…


Potrait layout with the transition when opening the drawer.


Landscape layout with the transition when closing the drawer.